I went to the CES 2026’s Digital Health Summit in my new city of Las Vegas, and yes, I oohed and ahhed at the dancing robots and awesome cars and vehicles on display.
But this isn’t your usual “look at this shiny new device” content you’ll see everywhere else about CES. I’m going to share the hard truths that came directly from patients, caregivers, and the organizations who represent them.
If you’re building healthtech, this is what your users are actually saying about what works, what doesn’t, and what they desperately need you to stop doing. Let’s go!
Contents
- Product Design Failures Nobody Talks About
- Women's Health Tech Is Broken
- Accessibility Creates Market Opportunities, Not Limitations
- Continuous Monitoring Changes Patient Behavior (Without Doctor Visits)
- AI That Actually Helps, Not Hypes
- The Digital Equity Gap Nobody's Solving
- Patient Voices Need to Drive Startup Decisions
- What Healthtech Companies Need to Do Differently
- The Measurement Challenge
- Final Thoughts
Product Design Failures Nobody Talks About
Your product design isn’t neutral
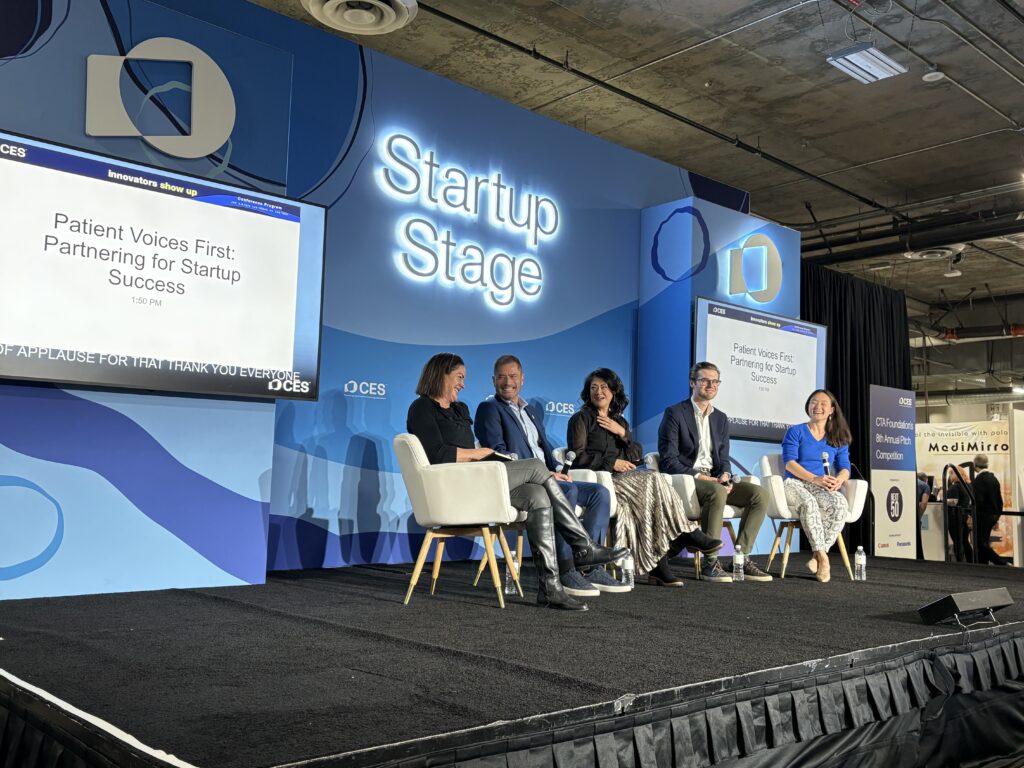
Randy Rutta from The National Health Council shared a couple of stories that should make every product team pause:
- A major pharma company launched inhalable insulin with all the confidence in the world. The technology was solid, and the marketing was ready, but it flopped completely because they never asked patients if they’d actually use it.
It turns out that people managing diabetes need precision. Something sprayed into your lungs doesn’t feel precise, even if the science says it is. Plus, patients hated the inhaler design itself. Simple focus groups made of their target user base would have caught both issues before millions were spent on development and launch.
- Another story hit even harder for me as a Black woman. Randy said a Black woman refused to wear a health monitoring device because it was a bulky black device on her waistband that made her afraid of being stopped by police. Her solution was painfully simple: “If it came in pink, it would have changed everything for me.”
This isn’t about inclusion for inclusion’s sake. It’s about building products that don’t put users at risk. Product design is literally life-or-death for some users.
Randy also mentioned patients with eczema and psoriasis who can’t wear certain devices because they’re too sensitive to materials touching their skin. That’s a deal-breaker for entire patient populations—a product design consideration that could eliminate your addressable market if you ignore it.
Engage patients early or pay later
Alice Pomponio from American Cancer Society’s venture capital arm sees this pattern constantly. You have to think beyond product features to systemic change. She asks founders: “What is not only the short-term product development strategy, but also the longer-term healthcare systemic step change you’re planning to deliver?”
Get patient voices around your cap table. Diversify your board perspective. Even if you have a great management team with good intentions, without a board that supports patient-centered decisions, you’ll lose the opportunity to make cost-effective strategic choices upfront.
It’s cheaper to fix problems during design than during M&A negotiations when your product strategy determines your acquisition price.
Women’s Health Tech Is Broken

Women are done waiting for tech that works for THEM
Sheena Franklin of K’ept Health interviewed Maya Friedman from Tidepool about how healthtech uses males as the default for AI.
Maya dropped a statistic that should embarrass the entire diabetes tech industry: 70% of women with type 1 diabetes experience insulin sensitivity changes around their menstrual cycles, but there are NO clinical guidelines or algorithms designed for this. Nothing. So women have to manually adjust their diabetes management systems every single month because the technology assumes their bodies work like men’s bodies.
“We need to stop thinking about women’s health as reproductive health. 𝘌𝘷𝘦𝘳𝘺 𝘴𝘪𝘯𝘨𝘭𝘦 𝘩𝘦𝘢𝘭𝘵𝘩𝘤𝘢𝘳𝘦 𝘤𝘰𝘮𝘱𝘢𝘯𝘺 𝘯𝘦𝘦𝘥𝘴 𝘪𝘯𝘧𝘳𝘢𝘴𝘵𝘳𝘶𝘤𝘵𝘶𝘳𝘦 𝘧𝘰𝘳 𝘥𝘢𝘵𝘢 𝘤𝘰𝘭𝘭𝘦𝘤𝘵𝘪𝘰𝘯 𝘢𝘵 𝘵𝘩𝘦 𝘪𝘯𝘵𝘦𝘳𝘴𝘦𝘤𝘵𝘪𝘰𝘯 𝘰𝘧 𝘸𝘰𝘮𝘦𝘯’𝘴 𝘩𝘦𝘢𝘭𝘵𝘩.”
The data gap is massive
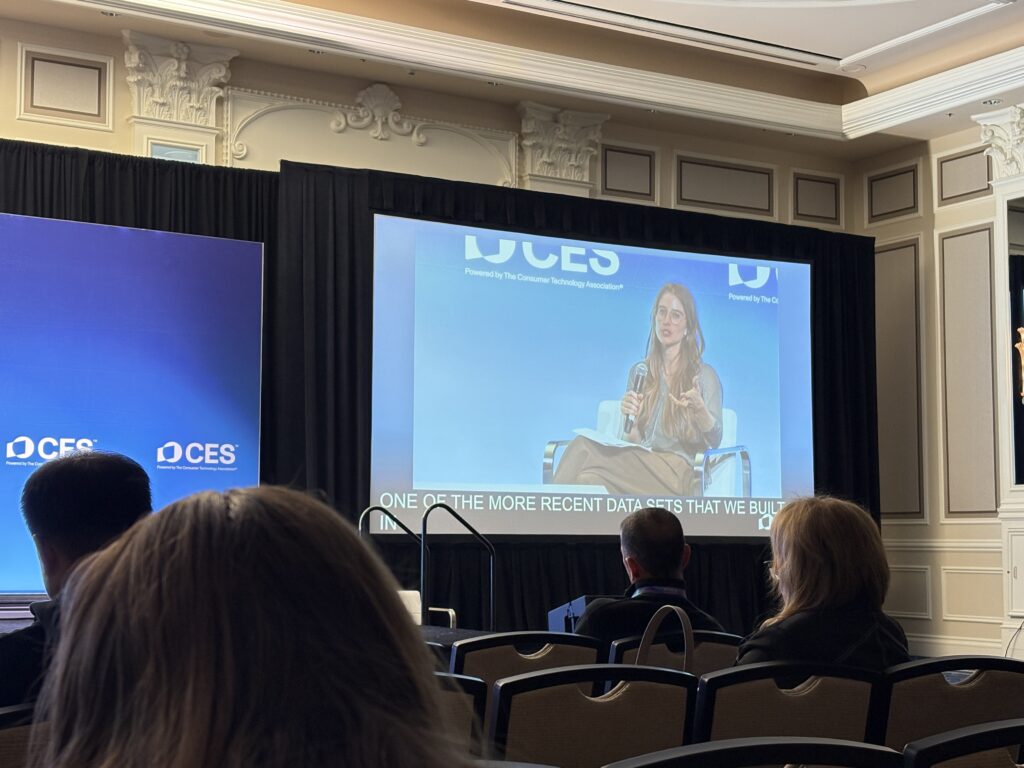
Maya referenced a project called “The Library of Missing Data Sets,” an art exhibition of hundreds of empty filing cabinets labeled with data sets that don’t exist across different industries. When you look at what’s missing, you see where biases already exist in healthcare.
As AI becomes more prevalent, these data gaps will replicate the same biases we’re trying to fix. That’s why every healthcare technology company needs infrastructure for data collection at the intersection of women’s health. Not as a “nice to have.” As a business requirement.
Tidepool partnered with Oura to build the largest longitudinal data set of diabetes device data combined with biometric data. They’re distributing Oura rings to thousands of users already on the Tidepool platform. The data will include:
- Activity tracking
- Sleep patterns
- Menstrual cycle data
- Diabetes device data from the same individuals
- Health surveys for contextual data
This is what infrastructure looks like when you take women’s health seriously.
Algorithms need to be smarter
Maya’s immediate priority: building algorithms that aren’t “cycle agnostic.” She wants systems that account for 30-day hormonal patterns, not just 72-hour learning horizons.
“Women are not just tiny men. We have different needs. We need to display different data. We need algorithms that are potentially different for women versus men.” – Maya Friedman, Tidepool
And yes, that means maintaining multiple versions of products.
Yes, it’s more expensive. But it’s also addressing the actual market need instead of pretending half the population doesn’t exist.
It’s not just about menstrual cycles
Maya’s longer-term vision includes AI models that are dynamic across different reproductive milestones. What does an algorithm look like for someone in perimenopause who isn’t having regular periods? What are the learning horizons for that system?
The real moonshot? A fully closed-loop system that accounts for polycystic ovarian syndrome (PCOS), type 1 diabetes, and menstrual cycles without requiring patient interaction at all.
Women need tech that doesn’t make them choose between their health needs and their time.
Accessibility Creates Market Opportunities, Not Limitations
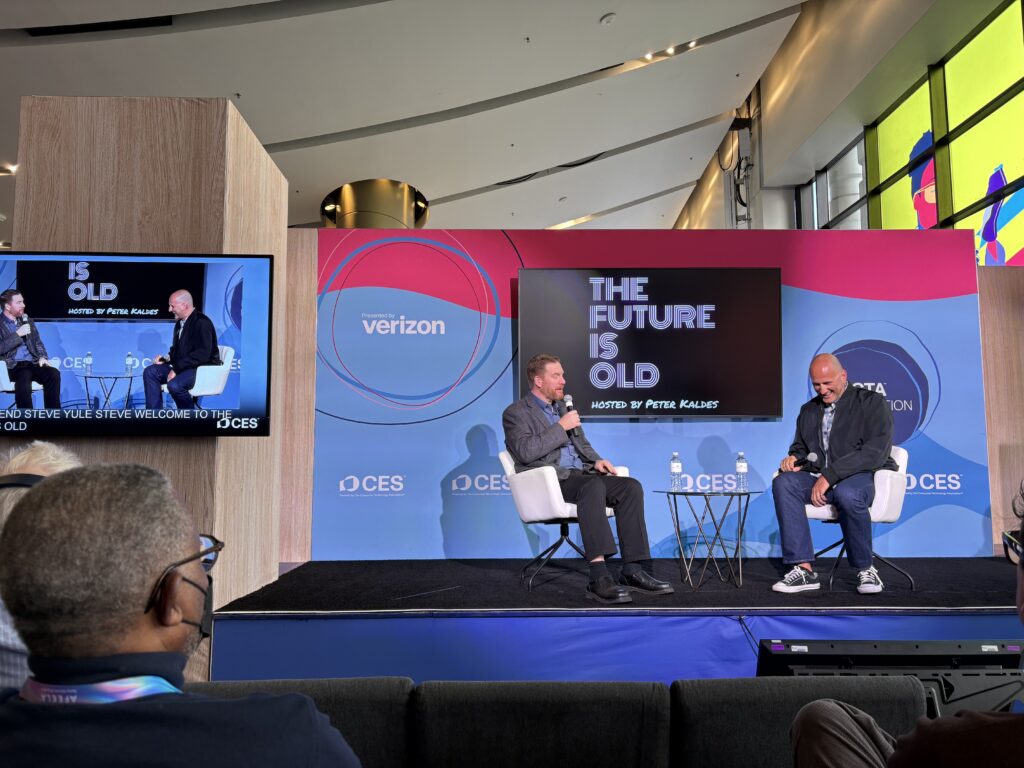
Peter Kaldes, CEO of Next50 Foundation, delivered a message that should change how every product designer thinks about their addressable market: “Guess what? You still have a point of view over 50. You still have buying power at 60. You can still use your iPhone at 70, and you need really great technology in the 80s and your 90s.”
Most product designers are under 35. Most assume older adults are technology Luddites. The data proves this assumption is completely wrong.
The buying power is enormous
The over-50 population has more buying power than younger generations. Yet, healthtech companies consistently ignore this market or, worse, design products that stigmatize older users. Peter’s frustration was that was crystal-clear:
“I’ve had conversations with some companies like, where are we going to find [older users to test with]? Well, why don’t you try, first of all, start with your company, and second of all, why don’t you start partnering with community organizations that have access to all these people. This is not hard. It’s just getting people out of their comfort zone.” – Peter Kaldes
Dual generational use is smart design
Peter loves technologies that serve multiple generations. If it’s good for older adults, it’s good for everyone. Examples he highlighted:
- Hearing technology embedded in glasses to reduce stigma around hearing aids
- AI tools that coordinate healthcare appointments along with transportation and nearby housing options
- Financial fraud protection that helps older adults without treating them like children
AARP CEO Myechia Minter-Jordan shared specific examples of products in AARP’s booth that reduce stigma:
- Sneakers designed to prevent falls that look like regular athletic shoes (they appear to have laces, though velcro is involved)
- Glasses with closed captions for people with hearing impairments
- Glasses with hearing aids built into the stems (partnered with Sadika)
“We want to ensure tools don’t further stigmatize us but allow us to live with dignity and age well.” – Myechia Minter-Jordan
The accessibility-to-mainstream pipeline
Griffen Stapp from Ability Central pointed out something product teams consistently miss: Products designed FOR the disability community often get adopted by everyone. But products made for the general population rarely get adapted later.
Examples are everywhere. Curb cuts help wheelchair users, but they also help parents with strollers, delivery workers with hand trucks, and travelers with rolling luggage. Closed captioning helps deaf users, but also people watching videos in noisy environments or practicing language skills.
Build accessibility in from day one, or you’re leaving both impact and revenue on the table.
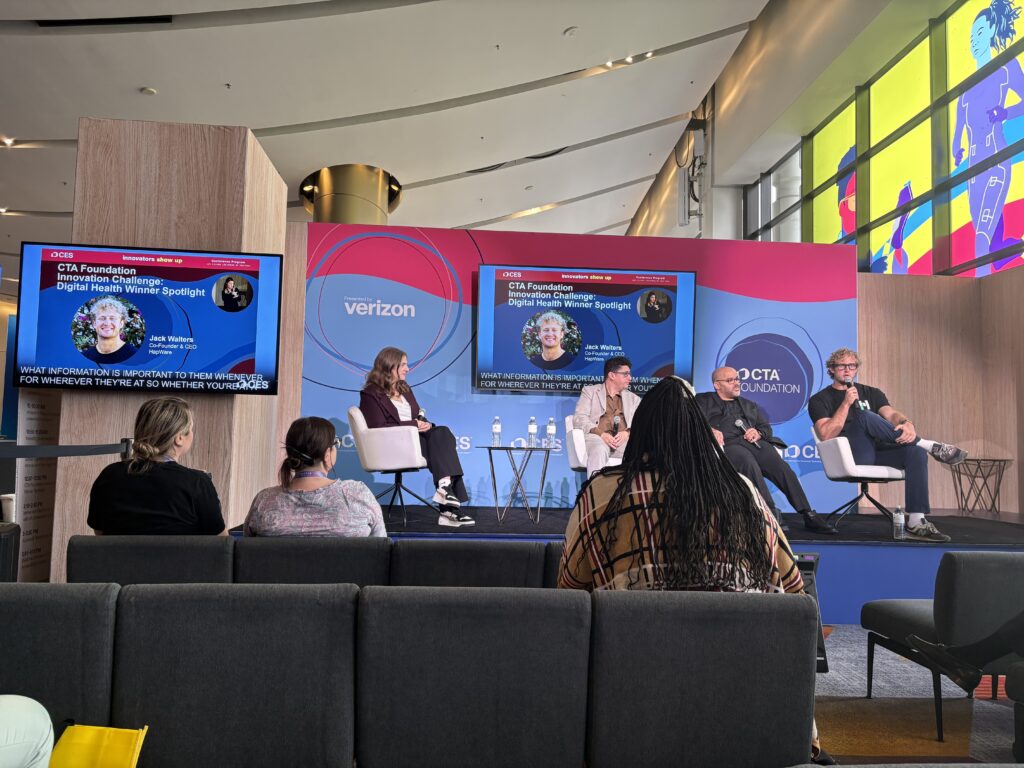
Adaptable frameworks beat one-size-fits-all
Jack Walters, co-founder of HapWare (winner of the CTA Foundation Innovation Challenge), explained their approach: “Not everyone’s going to have similar care or similar treatments, so you need to be able to adapt to all those different types of needs and necessities in the community.”
They involve the disability community in design from the start, knowing common pain points and anticipating when certain issues might come up. That’s how you build solutions that actually solve problems instead of creating new friction.
Continuous Monitoring Changes Patient Behavior (Without Doctor Visits)

Tom Hale, CEO of Oura, explained why continuous data matters more than episodic measurements: “Normal isn’t 98.6 degrees. Normal is what’s normal for you, and being able to see that deviation from the baseline allows us to make predictions.”
Oura’s “symptom radar” looks at temperature, heart rate, and other biometrics to predict when you might be getting sick—days before symptoms appear. That’s the intervention window where you can actually change behavior and potentially avoid getting sick entirely.
Patients change behavior when they see their own data
Jake Leach from Dexcom shared a pivotal study from the early days of continuous glucose monitoring. For years, the standard of care for diabetes was finger pricks, which are episodic, painful, and limited.
They ran a study where they put sensors on patients continuously measuring glucose, but they didn’t show patients the data for a week. They just collected baseline information. Then they turned on the display.
Within a day, people started making behavior changes based solely on their own knowledge of their disease and this information they’d never had before. No doctor intervention. No coaching. Just visibility into their own patterns.
The infrastructure problem doctors face

Doctors are drowning in data with no infrastructure to process it.
Lucienne Ide from Rimidi left clinical medicine because she was disappointed by how electronic health records (EHRs) were implemented. She expected digital records with clinical decision support layered on top. Instead, she got data dumps with no insights.
As she put it: “I don’t know a single doctor who’s saying, ‘If only I had more data, I would be a better clinician.'”
What doctors need is not more data, but clinical decision support that turns data into actionable insights.
Tom from Oura said one doctor told him: “I want the Oura ring to give me information as if it was written by another doctor. Basically, a consult. Here’s what I know about this patient in clinical terms, and this is the information you need. Everything else, don’t give it to me.”
That’s the responsibility of device companies: Don’t just collect data. Provide insights that save clinicians time and help them make better decisions faster.
Prevention requires behavior change at scale
The consensus was clear: behavior change is what moves the needle on long-term health outcomes. Not medications or procedures. Sleep well, eat well, manage stress, and stay balanced.
Healthcare has failed at behavior change for 75 years because it requires data, user experience (UX), engagement, education, and reinforcement. Doctors don’t have time for that level of ongoing support. Educational content alone doesn’t work because people don’t retain or apply it without reinforcement.
But continuous monitoring combined with AI and smartphone engagement is the combination that finally makes prevention scalable.
As Ami Bhatt from the American College of Cardiology noted, “What has my attention besides my kids? My phone. And I’m looking at that, and that’s the power.”
AI That Actually Helps, Not Hypes

Dominic King from Microsoft AI cut through all the conference noise:
“The biggest challenge in healthcare today is the mismatch between global demand and constrained supply.” – Dominic King
AI isn’t replacing doctors. It’s closing the gap between what people need and what the healthcare system can deliver.
The future is proactive health companions

5 years ago, AI was good at classification and spotting single problems. Now we have thinking and reasoning models that can pass the same exams physicians take, often at higher rates than human test-takers.
Dominic’s vision for 5 years from now is “A health companion that you wake up and it’s sitting in the background, doing the hard work for you and being more proactive. At the moment, everything is still very reactive.”
This means:
- Identifying sleep issues before they compound
- Flagging medication adherence problems
- Coordinating complex care across multiple providers
- Helping people navigate fragmented healthcare systems
- Providing specialized opinions even in rural areas
The caregiver opportunity is massive
Myechia shared that one in four Americans are caregivers right now (63 million Americans). If you’re not currently a caregiver or need care yourself, one day you will be.
AI tools can help caregivers:
- Communicate with provider teams more effectively
- Ensure loved ones are safe at home
- Coordinate the “universe of appointments” that comes with aging
- Reduce information asymmetry (where only people with medical training understand how systems work)
The key is addressing privacy and data concerns upfront, not as barriers to innovation but as facilitators of trust.
The co-design imperative
Dominic emphasized that co-design is critically important. Building WITH users instead of just FOR them avoids the problems we see when products hit the real world.
At Microsoft, they’re seeing 50 to 60 million health questions a day through Copilot. That’s enormous insight into what people actually need help with.
But as he noted, “A lot of founders are young. They don’t have a good idea of what it’s like to be elderly or sick.”
That’s why bringing your end users (patients, clinicians, caregivers) into the development process isn’t optional. It’s the difference between building something that works versus something that sits unused.
The Digital Equity Gap Nobody’s Solving
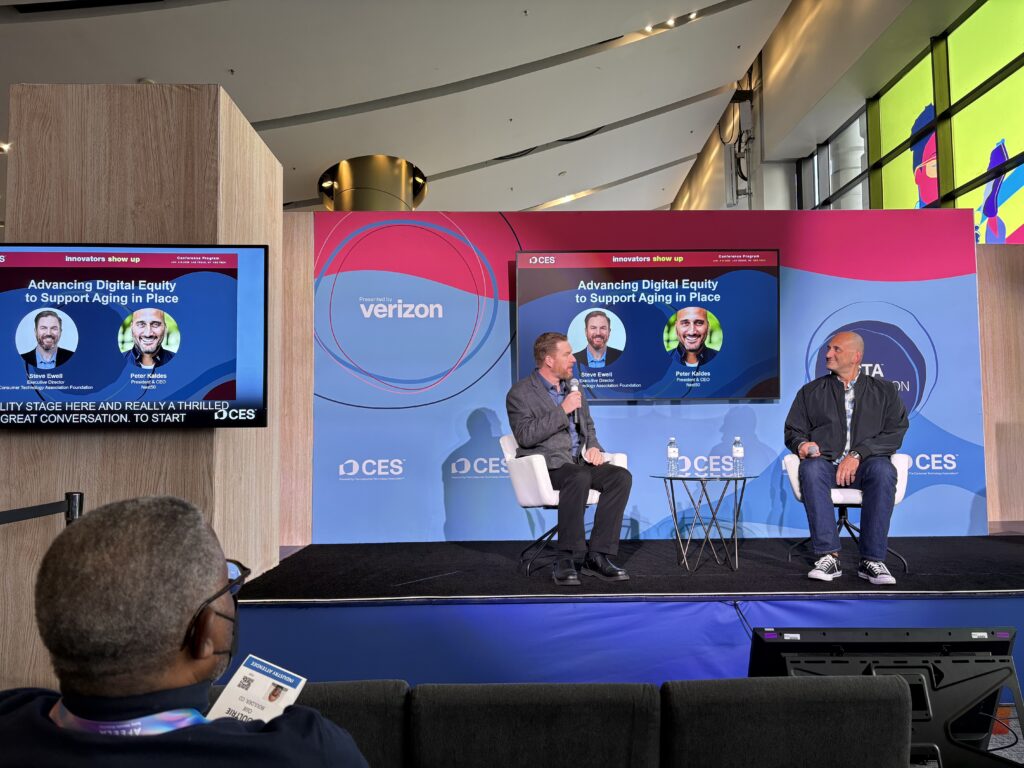
Steve Ewell, Executive Director of CTA Foundation, laid out what he calls “the three legs of the stool” for digital equity:
“You need the hardware, you need the broadband access, and then you need the support and education to go along with it. And so often that last one is left off.” – Steve Ewell
That last leg of support and education is where healthcare technology adoption actually lives or dies.
Tech alone isn’t enough
Peter Kaldes from Next50 Foundation added context that should worry anyone in healthtech: nonprofits doing the heavy lifting of digital equity training are facing unprecedented cuts to federal grants.
As Peter noted: “I love going to an Apple Store and seeing these free classes, but you have to find an Apple Store which are not in the neighborhoods that need the help the most.”
The communities that need technology training the most are the least likely to have access to it. And the organizations that bridge that gap are losing funding.
The clinical trial proof

Dexcom is running large clinical trials where half the participants come from underserved communities specifically to prove the technology works equally well regardless of service level. They want hard data showing these tools aren’t just for people with resources.
Rimidi partnered with community health centers during COVID to monitor high-risk pregnancies remotely using blood pressure monitors and texting protocols. They tracked engagement by ethnicity and primary language.
There was no difference in engagement. Everyone has a smartphone in that demographic (women of childbearing age), and everyone can text.
This proves that engagement isn’t the problem. The problem is getting access to the infrastructure and training on how to use it.
Mission-aligned capital as the solution

Next50 Foundation is one of the first private foundations to invest 100% of their endowment in aging-focused companies and infrastructure. Not just grant-making, but the other 95% of their capital.
They created an aging investment framework with JP Morgan that looks at four themes:
- Health
- Social connectivity (including technology)
- Economic opportunity (workforce and financial vehicles for longer lives)
- Built environment (mobility, housing, accessibility)
As of December, about 75% of their endowment was invested in this framework, and Peter offered a challenge to the investment community:
“What if capital actually had values? Climate investors have successfully made money and helped power cleaner energy. The same can be true for aging. How can we possibly ignore that the globe is aging?” – Peter Kaldes
They also launched a new nonprofit called Leverage focused on advancing policies in Colorado to make aging more affordable—housing, living wages, caregiving resources.
Because you can’t solve systemic problems with technology alone. You need policy change too.
Patient Voices Need to Drive Startup Decisions
Jake Heller from Citizen Health is building AI tools that help patients with rare diseases query their own medical records and advocate for themselves at doctor’s appointments.
His philosophy: “Putting patients in the driver’s seat is one of the biggest opportunities we have right now.”
The journaling and documentation problem

Sometimes when people with rare or complex diseases go to appointments and talk about their concerns, doctors don’t believe them. These patients need help translating their own experience in a way that clinicians will take seriously.
Citizen Health helps patients journal their symptoms and experiences, then presents that data in clinical terms. “Here’s a video of my daughter having this specific type of seizure. Here are the journal entries. Here’s how this has changed over time.”
That’s advocacy powered by data and AI.
The time-to-diagnosis crisis
Randy pointed out that if you have an autoimmune disease, it could be 3, 5, or even 7 years before diagnosis. For healthcare innovation, it can take 7 years just to move something through an FDA process.
Those time frames compound into suffering that’s completely preventable if we had better systems and patient input earlier in development cycles.
Patient organizations are ready to help. They’re trusted by their communities. They can broker relationships, speed recruitment, help startups get from lab to market faster with products that patients will actually use and that payers will actually reimburse.
The startup trap to avoid

Alice warned about companies that design products, then go looking for users to validate decisions they already made.
That’s backwards. Instead you should:
- Find patient voices early.
- Put them on advisory boards.
- Include them in design sprints.
- Listen to their feedback even when it’s uncomfortable or expensive to implement.
The successful companies in her portfolio think about long-term systemic change, not just short-term product development metrics.
What Healthtech Companies Need to Do Differently
The patient community isn’t a barrier to innovation. They’re the key to building products that actually work.
Stop designing in the dark

If you’re building healthtech without continuous patient input, you’re wasting resources. You’ll miss market opportunities. You’ll build products that don’t get used or that put certain populations at risk.
Randy’s message was clear: “Come to us, and we will broker that relationship, because in the end, you’ll be more successful, and the patient community will get a better result.”
Measure what matters
Myechia challenged the AI industry on how they measure success: Don’t count the number of tools or features. Measure whether you’re closing the gap between lifespan and health span.
That gap is currently 13 years, which is the difference between how long people live and how many of those years are healthy years. If your technology doesn’t move that number, what’s the point?
Think systemically, not just tactically

Every speaker emphasized that technology is only one piece of a larger puzzle. You also need:
- Policy changes that support adoption
- Payment models that reward prevention
- Training infrastructure for underserved communities
- Clinical decision support that turns data into insights
- Algorithms that account for biological differences across populations
If you’re only focused on your device or platform, you’re missing the bigger picture of how healthcare actually works.
The sales enablement angle
All of these insights about patient needs, accessibility requirements, women’s health gaps, digital equity challenges are the stories your prospects need to hear during long sales cycles.
B2B healthtech sales aren’t quick. You’re selling to health systems, payers, and large provider networks. The buying committees are complex. The evaluation periods stretch for months.
That’s exactly when prospects go cold or arrive at sales calls unprepared.
I create educational email courses to bridge that gap. They keep prospects engaged with the exact kind of patient-centered insights I heard at CES. They position your company as one that understands real-world healthcare challenges, not just technology features.
In 2026 and beyond, healthtech companies that want to win understand their users deeply enough to build products those users will actually want, trust, and use.
The Measurement Challenge
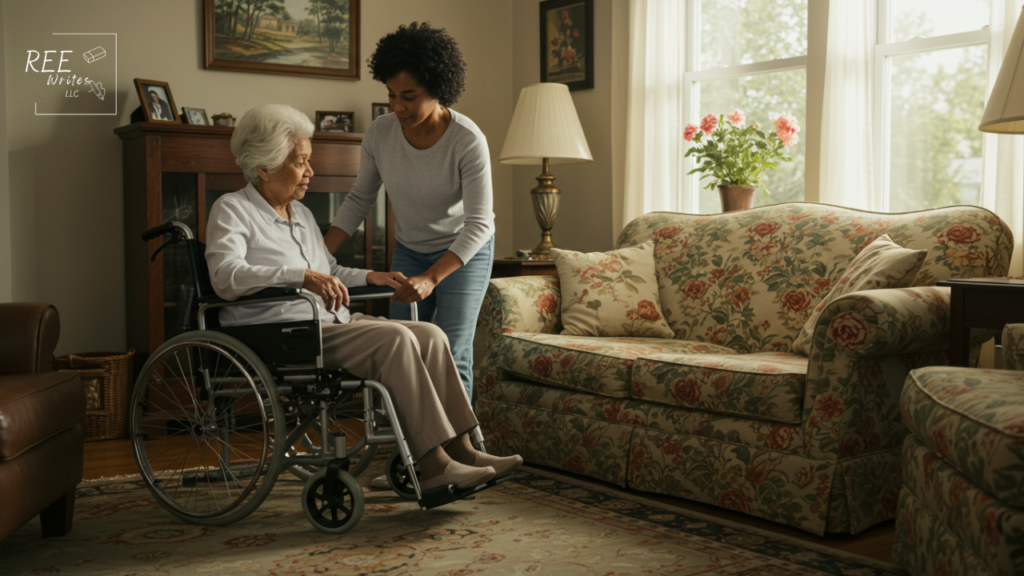
How do you know if you’re succeeding at patient-centered design? Myechia offered a simple test: “What do you want your life to look like at 75?”
You probably want to:
- Stay in your home
- Feel healthy
- Stay empowered
- Have information flow easily between you and loved ones
- Remain connected to family and physicians
- Be safe at home
- Engage in daily activities with ease and without pain
- Understand your medical information and chronic diseases
- Control who has access to your data
- Have a care plan you can execute yourself
- Receive information you trust and can use readily
If your tech helps people achieve any of those goals, you’re on the right track. If it doesn’t, you need to rethink your approach.
Final Thoughts
CES 2026’s Digital Health Summit covered the hard work of actually listening to patients, caregivers, and the communities being served.
Startups who want to be successful in healthtech aren’t the ones chasing the next funding round or the flashiest AI feature. They’re the ones asking better questions:
- Have we talked to patients who look different from our team?
- Does our product work for women’s bodies, not just male bodies?
- Can older adults use this without feeling stigmatized?
- What infrastructure needs to exist beyond our technology?
- Are we solving a real problem or just building something technically impressive?
Those questions lead to products that get adopted, outcomes that improve, and companies that actually make a difference. That’s the kind of healthtech worth building.


%3Amax_bytes(150000)%3Astrip_icc()%2Fmission-statement-4192827-final-6acb0b8f71364973b36e441be258ae6d.jpg&f=1&nofb=1&ipt=e53ba00806b5f0f39a8dd94e5dd33a89f17f7b7112a60b683f0362b3a7396dc6)